Building Your First Agent Protocol-Compliant Agent in 15 Minutes
What if you could make your AI agent compatible with every major agent framework in under 15 minutes? With Agent Protocol, that’s not just possible – it’s straightforward.
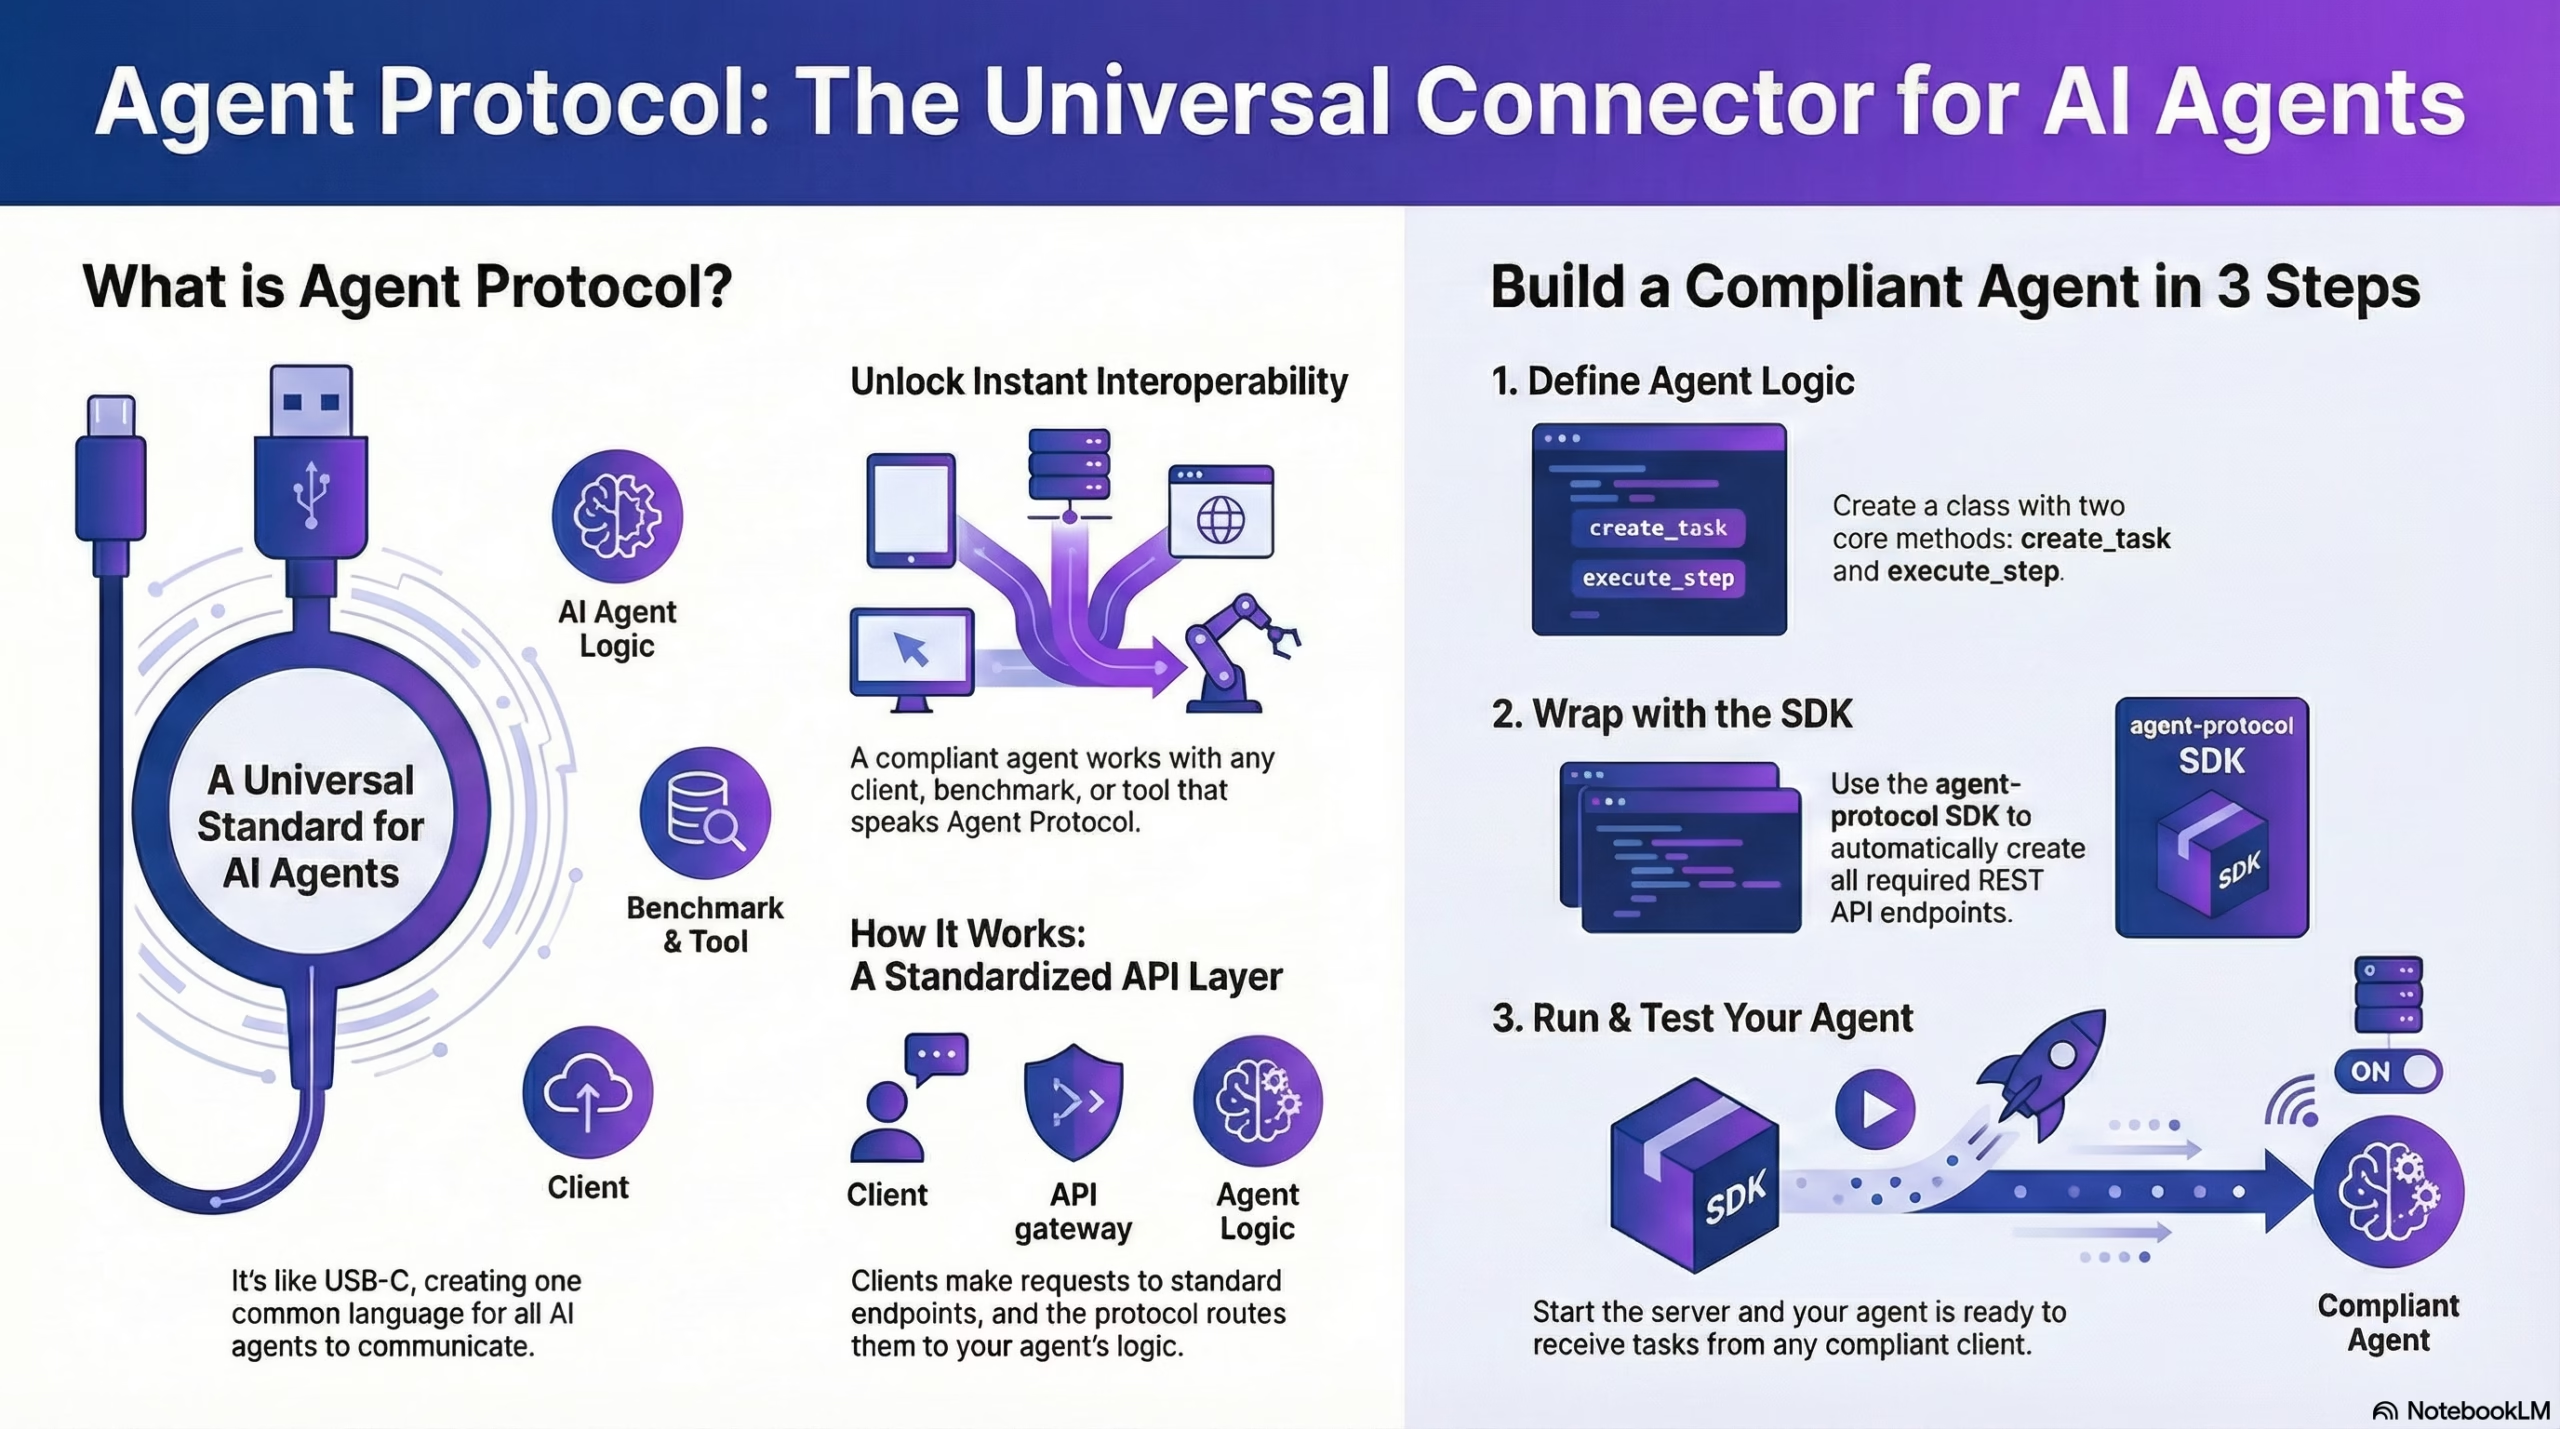
Agent Protocol is a standardized interface that enables AI agents to communicate and collaborate across platforms, regardless of their underlying architecture or language. Think of it like USB-C for AI agents – one universal connector that works everywhere. By the end of this tutorial, you’ll have a working agent that any Agent Protocol client can interact with, unlocking interoperability and easy integration into broader AI ecosystems.
In this tutorial:
- Installing the Agent Protocol SDK
- Creating your agent structure
- Implementing task creation and step execution
- Testing your agent with a client
- Understanding what you’ve built
- Taking your agent further
What you’ll learn: How to build an Agent Protocol-compliant agent from scratch, understand the core concepts of task-based agent communication, and integrate your agent into the growing ecosystem of standardized AI tools.
Prerequisites
Before we begin, make sure you have:
- Python 3.8 or higher installed on your system
- Basic Python programming knowledge (functions, classes, async/await)
- pip package manager installed
Quick Prerequisites Check:
# Verify Python version (should be 3.8+)
python --version

# Verify pip is installed
pip --version
If you need to install Python, visit python.org for installation instructions.
What We’re Building
You’ll build a simple task-based agent that can respond to requests via Agent Protocol’s core endpoints. The agent will act as a research assistant, breaking down complex research tasks into actionable steps.
Why a research assistant? This example is simple enough to understand quickly but complex enough to demonstrate the power of multi-step task execution: one of Agent Protocol’s key features.
The architecture is straightforward:
┌────────┐      ┌─────────────────┐      ┌─────────────────┐
│ Client │─────▶│ Agent Protocol  │─────▶│ Your Agent      │
│        │◀─────│ (REST API)      │◀─────│ Logic           │
└────────┘      └─────────────────┘      └─────────────────┘
Here’s how it works:
- A client sends a request (like “Research the top 5 AI frameworks”)
- Agent Protocol routes it through standardized REST endpoints
- Your agent logic processes the request and returns results
- The client receives responses in a consistent format
This abstraction is powerful because it means your agent can work with any client that speaks Agent Protocol – no custom integration needed.
Step 1: Install the Agent Protocol SDK
Getting Started: Installation
Estimated time: 2 minutes
pip install agent-protocol
The Agent Protocol SDK provides all the necessary tools to create and manage agents, automatically handling the API infrastructure so you can focus on your agent’s core logic.
What the SDK does for you:
- Creates REST API endpoints automatically (
/ap/v1/agent/tasks,/ap/v1/agent/tasks/{task_id}/steps, etc.) - Handles request/response serialization
- Manages the HTTP server infrastructure
- Validates requests against the Agent Protocol specification
- Provides type hints and helpful abstractions
Verify the installation:
pip show agent-protocol
You should see version information and package details. For more information, check out the official PyPI package or the SDK documentation.
Step 2: Create Your Basic Agent Structure
Setting Up Your Agent Class
Estimated time: 3 minutes
from agent_protocol import Agent

class SimpleResearchAgent:
    def __init__(self):
        # In-memory storage for tasks
        self.tasks = {}

    async def create_task(self, task_input: str):
        # Task creation logic
        pass

    async def execute_step(self, task_id: str):
        # Step execution logic
        pass
Understanding the structure:
The two core methods (create_task and execute_step) are required for any Agent Protocol-compliant agent:
create_task: The entry point where new tasks are created. Receives the task description and returns a unique task ID.execute_step: Executes one step of a given task. Called repeatedly until the task is complete.
Why async/await? The async/await pattern is used to support non-blocking operations, which is essential for handling concurrent requests. When multiple clients interact with your agent simultaneously, async methods prevent one slow task from blocking others.
In this example, tasks are stored in-memory using a simple dictionary, but you can extend this to use persistent storage like Redis, PostgreSQL, or MongoDB for production deployments.
Common Mistake: Forgetting to make methods
async. All task and step handlers must be async functions, even if they don’t currently useawait. This ensures future compatibility and proper operation with the Agent Protocol server.
Step 3: Implement Task Creation
Creating Tasks: The Entry Point
Estimated time: 3 minutes
import uuid
from datetime import datetime

async def create_task(self, task_input: str):
    # Generate a unique identifier for this task
    task_id = str(uuid.uuid4())

    # Store task data with metadata
    self.tasks[task_id] = {
        "input": task_input,           # The original request
        "status": "created",            # Task lifecycle status
        "steps": [],                    # Will store completed steps
        "created_at": datetime.now()    # Timestamp for tracking
    }

    return task_id
Breaking it down:
- Unique ID Generation: Each task is assigned a unique ID using
uuid.uuid4(). This ensures that tasks can be uniquely identified even across distributed systems. - Task Storage: The task data is stored in a dictionary with:
input: The original task description from the clientstatus: Tracks the task lifecycle (created, in_progress, completed, failed)steps: An array that will accumulate completed stepscreated_at: Useful for debugging and analytics
- Return Value: The method returns the
task_id, which clients use to interact with the task in subsequent requests.
Example usage: When a client sends “Research the top 5 AI agent frameworks”, this method creates a task with a unique ID like a1b2c3d4-e5f6-7890-abcd-1234567890ab.
Step 4: Implement Step Execution
Executing Steps: Where the Magic Happens
Estimated time: 5 minutes
async def execute_step(self, task_id: str):
    # Retrieve the task from storage
    task = self.tasks.get(task_id)
    if not task:
        raise ValueError(f"Task {task_id} not found")

    # Calculate the next step number
    step_number = len(task["steps"]) + 1

    # Simulate research steps (in a real agent, this would use AI/LLMs)
    if step_number == 1:
        output = "Identified 5 frameworks: AutoGPT, LangChain, CrewAI, BabyAGI, AgentGPT"
        is_last = False
    elif step_number == 2:
        output = "Gathered documentation and features for each framework"
        is_last = False
    elif step_number == 3:
        output = "Summary: AutoGPT leads in autonomy, LangChain in flexibility, CrewAI in multi-agent coordination, BabyAGI in simplicity, and AgentGPT in accessibility"
        is_last = True
    else:
        output = "Task completed"
        is_last = True

    # Create the step record
    step = {
        "step_id": str(uuid.uuid4()),
        "task_id": task_id,
        "step_number": step_number,
        "output": output,
        "is_last": is_last
    }

    # Store the step and return it
    task["steps"].append(step)
    return step
Understanding step execution:
This method is the heart of your agent. Here’s what happens:
- Task Retrieval: First, we fetch the task from storage and validate it exists.
- Step Numbering: We calculate which step we’re on by counting existing steps. Step 1 is the first execution, step 2 is the second, and so on.
- Step Logic: In this example, we simulate a three-step research process:
- Step 1: Identify relevant frameworks
- Step 2: Gather information about each
- Step 3: Synthesize findings into a summary
- Step Creation: Each step gets its own unique ID and includes:
step_id: Unique identifier for this specific steptask_id: Links back to the parent taskstep_number: Sequential position in the taskoutput: The actual result of this stepis_last: Boolean flag indicating if this completes the task
- Storage & Return: The step is appended to the task’s step array and returned to the client.
Why break tasks into steps? This design allows:
- Streaming results to users (they don’t wait for the entire task)
- Progress tracking and cancellation
- Debugging and observability
- Resuming interrupted tasks
Step 5: Wrap Your Agent with the Protocol Server
Making It Protocol-Compliant
Estimated time: 2 minutes
from agent_protocol import Agent

# Instantiate your agent
agent = Agent(
    name="SimpleResearchAgent",
    task_handler=SimpleResearchAgent()
)

# Start the server
if __name__ == "__main__":
    agent.start(port=8000)
What’s happening here:
The Agent Protocol SDK wraps your agent class and automatically creates all required REST endpoints. Behind the scenes, the SDK:
- Creates HTTP endpoints that comply with the Agent Protocol specification:
POST /ap/v1/agent/tasks– Create a new taskPOST /ap/v1/agent/tasks/{task_id}/steps– Execute a stepGET /ap/v1/agent/tasks– List all tasksGET /ap/v1/agent/tasks/{task_id}– Get task detailsGET /ap/v1/agent/tasks/{task_id}/steps– List steps for a task
- Handles serialization between HTTP requests and your Python methods
- Validates requests against the OpenAPI specification
- Manages the web server using a production-ready ASGI framework
Your agent is now accessible at http://localhost:8000 and ready to receive tasks from any Agent Protocol client!
💡 Why This Matters: By wrapping your agent with Agent Protocol, you’ve made it instantly compatible with existing tools like AutoGPT’s benchmarking suite, universal monitoring dashboards, and any other Agent Protocol clients. No custom integration code needed.
Step 6: Test Your Agent
Testing: Seeing It In Action
⏱️ Estimated time: 3 minutes
First, make sure your agent is running:
python your_agent.py
You should see output indicating the server has started on port 8000.
Option 1: Test with Python Client
from agent_protocol_client import AgentApi, ApiClient, Configuration

# Connect to your agent
config = Configuration(host="http://localhost:8000")
client = AgentApi(ApiClient(config))

try:
    # Create a task
    task = client.create_agent_task({
        "input": "Research the top 5 AI agent frameworks"
    })
    print(f"Created task: {task.task_id}")

    # Execute steps until completion
    for i in range(5):  # Max 5 steps as safety limit
        step = client.execute_agent_task_step(task_id=task.task_id)
        print(f"Step {step.step_number}: {step.output}")

        if step.is_last:
            print("Task completed!")
            break

except Exception as e:
    print(f"Error: {e}")
Expected Output:
Created task: a1b2c3d4-e5f6-7890-abcd-1234567890ab
Step 1: Identified 5 frameworks: AutoGPT, LangChain, CrewAI, BabyAGI, AgentGPT
Step 2: Gathered documentation and features for each framework
Step 3: Summary: AutoGPT leads in autonomy, LangChain in flexibility, CrewAI in multi-agent coordination, BabyAGI in simplicity, and AgentGPT in accessibility
Task completed!
Option 2: Test with cURL
# Create a task
curl -X POST http://localhost:8000/ap/v1/agent/tasks \
  -H "Content-Type: application/json" \
  -d '{"input": "Research the top 5 AI agent frameworks"}'

# Copy the task_id from the response, then execute a step
curl -X POST http://localhost:8000/ap/v1/agent/tasks/{task_id}/steps
Option 3: Test with Postman or Swagger UI
The Agent Protocol SDK automatically generates OpenAPI documentation. Visit http://localhost:8000/docs to see an interactive Swagger UI where you can test all endpoints visually.
Complete Code Example
Putting It All Together
Here’s the complete, production-ready code in one place:
import uuid
from datetime import datetime
from agent_protocol import Agent

class SimpleResearchAgent:
    """
    A simple research agent that breaks down research tasks into steps.
    Demonstrates Agent Protocol compliance with task creation and execution.
    """

    def __init__(self):
        # In-memory storage for tasks (use a database in production)
        self.tasks = {}

    async def create_task(self, task_input: str):
        """
        Create a new research task.

        Args:
            task_input: The research question or task description

        Returns:
            task_id: Unique identifier for the created task
        """
        # Generate unique task ID
        task_id = str(uuid.uuid4())

        # Initialize task storage
        self.tasks[task_id] = {
            "input": task_input,
            "status": "created",
            "steps": [],
            "created_at": datetime.now()
        }

        return task_id

    async def execute_step(self, task_id: str):
        """
        Execute one step of the research task.

        Args:
            task_id: The unique identifier of the task to execute

        Returns:
            step: Dictionary containing step information

        Raises:
            ValueError: If task_id is not found
        """
        # Retrieve task from storage
        task = self.tasks.get(task_id)
        if not task:
            raise ValueError(f"Task {task_id} not found")

        # Determine which step we're on
        step_number = len(task["steps"]) + 1

        # Execute step logic (simulate research process)
        if step_number == 1:
            output = "Identified 5 frameworks: AutoGPT, LangChain, CrewAI, BabyAGI, AgentGPT"
            is_last = False
        elif step_number == 2:
            output = "Gathered documentation and features for each framework"
            is_last = False
        elif step_number == 3:
            output = "Summary: AutoGPT leads in autonomy, LangChain in flexibility, CrewAI in multi-agent coordination, BabyAGI in simplicity, and AgentGPT in accessibility"
            is_last = True
        else:
            output = "Task completed"
            is_last = True

        # Create step record
        step = {
            "step_id": str(uuid.uuid4()),
            "task_id": task_id,
            "step_number": step_number,
            "output": output,
            "is_last": is_last
        }

        # Store and return step
        task["steps"].append(step)
        return step

# Initialize agent with the Protocol wrapper
agent = Agent(
    name="SimpleResearchAgent",
    task_handler=SimpleResearchAgent()
)

# Start the server
if __name__ == "__main__":
    print("Starting Agent Protocol server on http://localhost:8000")
    print("API documentation available at http://localhost:8000/docs")
    agent.start(port=8000)
To run:
- Save this code as
research_agent.py - Run
python research_agent.py - Test with the examples from Step 6
For a complete GitHub repository with additional examples, visit: Agent Protocol Examples
Troubleshooting
Common Issues and Solutions
Problem: Port already in use
Error: Address already in use
Solution: Either stop the other process using port 8000, or change the port:
agent.start(port=8001) # Use a different port
Problem: Module not found
ModuleNotFoundError: No module named 'agent_protocol'
Solution: Make sure the SDK is installed:
pip install agent-protocol
# Or for a specific version
pip install agent-protocol==1.0.0
Problem: Task ID not found
ValueError: Task a1b2c3d4... not found
Solution: This usually means the task wasn’t created successfully, or you’re using the wrong task ID. Verify:
# Make sure create_task was successful
task = client.create_agent_task({"input": "..."})
print(f"Task ID: {task.task_id}")  # Use this exact ID
Problem: Agent not responding
Connection refused
Solution: Ensure your agent server is running. Check the terminal where you started it for error messages.
What You’ve Built
Understanding What You’ve Accomplished
Congratulations! You now have an Agent Protocol-compliant agent. Here’s what that means:
Your agent automatically exposes these standardized endpoints:
| Endpoint | Method | Purpose |
|---|---|---|
/ap/v1/agent/tasks | POST | Create a new task |
/ap/v1/agent/tasks/{task_id}/steps | POST | Execute the next step |
/ap/v1/agent/tasks | GET | List all tasks |
/ap/v1/agent/tasks/{task_id} | GET | Get task details |
/ap/v1/agent/tasks/{task_id}/steps | GET | List all steps for a task |
What this enables:
✅ Universal compatibility: Any Agent Protocol client can interact with your agent using the same interface
✅ Benchmarking: Your agent works with tools like agbenchmark out of the box
✅ Easy deployment: The standardized interface makes it simple to deploy and integrate into larger systems
✅ Extensibility: You can easily add real AI capabilities (LLMs, tools, memory) without changing the interface
✅ Ecosystem participation: Join a growing network of compatible agents, tools, and platforms
The power of standardization: Before Agent Protocol, every agent framework had its own API. Integrating multiple agents meant learning and implementing multiple different interfaces. Now, learn one interface and work with any compliant agent.
Next Steps
Taking Your Agent Further
Now that you have a working agent, here are ways to enhance it:
Add Real Intelligence
Integrate an LLM for actual reasoning capabilities:
import anthropic

async def execute_step(self, task_id: str):
    task = self.tasks.get(task_id)

    # Use Claude or another LLM
    client = anthropic.Anthropic(api_key="your-api-key")
    message = client.messages.create(
        model="claude-3-5-sonnet-20241022",
        max_tokens=1024,
        messages=[{
            "role": "user",
            "content": f"Research step for: {task['input']}"
        }]
    )

    output = message.content[0].text
    # ... rest of step logic
Other options: OpenAI’s GPT-4, local models via Ollama, or open-source models like Llama.
Implement Artifacts
Add file upload/download capabilities for agents that produce documents or data:
async def execute_step(self, task_id: str):
    # ... execute logic ...

    # Create a report file
    report_path = f"/tmp/report_{task_id}.pdf"
    generate_pdf_report(output, report_path)

    step = {
        # ... other fields ...
        "artifacts": [{
            "file_name": "research_report.pdf",
            "uri": f"file://{report_path}"
        }]
    }
    return step
Add Persistence
Replace in-memory storage with a database for production use:
import redis
import json

class SimpleResearchAgent:
    def __init__(self):
        self.redis = redis.Redis(host='localhost', port=6379)

    async def create_task(self, task_input: str):
        task_id = str(uuid.uuid4())
        task_data = {
            "input": task_input,
            "status": "created",
            "steps": []
        }
        self.redis.set(f"task:{task_id}", json.dumps(task_data))
        return task_id
Options: Redis (fast, simple), PostgreSQL (relational), MongoDB (document-based), or SQLite (embedded).
Deploy Your Agent
Make your agent accessible to others:
Docker deployment:
FROM python:3.11
WORKDIR /app
COPY requirements.txt .
RUN pip install -r requirements.txt
COPY research_agent.py .
CMD ["python", "research_agent.py"]
Cloud platforms:
- Railway – Simple deployment with automatic HTTPS
- Render – Free tier available, easy setup
- Fly.io – Global edge deployment
- AWS, GCP, Azure – Enterprise-grade infrastructure
Add Authentication
Secure your agent with API keys:
from fastapi import Header, HTTPException

async def verify_api_key(x_api_key: str = Header()):
    if x_api_key != "your-secret-key":
        raise HTTPException(status_code=401, detail="Invalid API key")

# Add middleware to Agent Protocol server
agent.add_middleware(verify_api_key)
For production, use OAuth 2.0, JWT tokens, or integrate with auth providers like Auth0.
Join the Community
Connect with other Agent Protocol developers:
- 💬 Discord – AI Engineer Foundation – Ask questions, share projects
- 💬 Discord – AutoGPT – Original community
- 💬 Discord – e2b – Code execution environments
- 🐙 GitHub Discussions – Technical discussions
- 🐦 Twitter/X #AgentProtocol – Share what you’re building
Additional Resources
Learn More
Official Documentation:
- Agent Protocol Specification – Complete API reference
- SDK Documentation – Python SDK details
- OpenAPI Schema – Machine-readable specification
Implementation Examples:
- AutoGPT Implementation – Full autonomous agent
- Auto-GPT-Forge – Agent template
- Community Examples – Various implementations
Tools & Libraries:
- agbenchmark – Standardized benchmarking
- Agent Protocol Client (Python) – Python client library
- Agent Protocol Client (JavaScript) – JS/TS client library
Background Reading:
- Python async/await Tutorial – Master async programming
- REST API Best Practices – API design principles
- OpenAPI Specification – Understanding API specs
Conclusion
You’ve built a working Agent Protocol-compliant agent in about 15 minutes! The power of standardization means your agent can now participate in the broader ecosystem of AI tools and frameworks.
What you’ve accomplished:
- ✅ Created an agent that speaks a universal language
- ✅ Implemented task-based execution with multi-step workflows
- ✅ Made your agent compatible with existing benchmarks and tools
- ✅ Laid the foundation for adding real AI capabilities
What’s next? The AI agent landscape is evolving rapidly, and Agent Protocol gives you a stable foundation to build on. Whether you integrate cutting-edge LLMs, build specialized tools, or create new agent architectures, your work will remain compatible with the growing ecosystem.